
Ever spent four hours tweaking global illumination settings just to show a client how their new kitchen looks during a summer sunset?
Does AI rendering software actually give you enough control over the “mood” of a room without losing the technical layout?
Yes, it depends on how you use the logic of the engine. The longer (and more useful) answer is that high-end architectural visualization is no longer about manual light bounces, it’s about strategic input and “Inspiration Transfer.”
At KBB Render, we’ve moved past the era of “type a prompt and pray.” Professional designers need precision. Below, we break down the advanced techniques that turn a standard line drawing into a photorealistic masterpiece that closes deals.
Why Lighting Changes Everything in Kitchen Visualisation
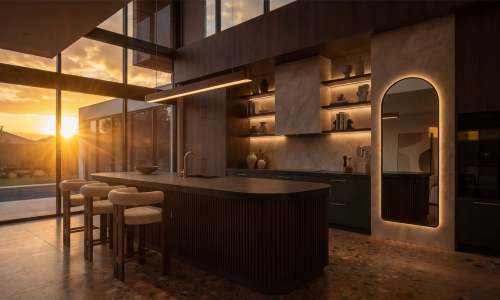
Lighting isn’t just about seeing the cabinets; it’s about emotional resonance. A kitchen at 10 AM feels productive and clean. That same kitchen at 8 PM, with warm under-cabinet LEDs and a sunset glow, feels like a home.
In our 2026 rendering engine, we offer four primary lighting modes designed to replicate real-world conditions:
- Day Mode: Clean, neutral, and high-energy. This is your “safe” presentation mode for initial meetings.
- Night Mode: Focuses on artificial light sources. It’s perfect for showing off lighting plans and ambient spot lights.
- Sunset Mode: The most dramatic option. It introduces high-dynamic-range (HDR) lighting that enters the space at an angle.
- Ambient Options: You can refine any of the above with Warm or Cold toggles to match the temperature of the interior finishes.
The “Visible Window” Rule for Sunset and Night Modes
This is a critical technical point. For the AI to generate a realistic sunset or night scene, windows must be clearly visible in your base image.
Why? Because the engine looks for a logical entry point for light. If you upload a windowless “internal” view and select Sunset mode, the AI may interpret the scene incorrectly or force a window where one shouldn’t exist.
Pro Tip: If you want a clean, professional presentation without worrying about external light logic, stick to Day mode. If you want emotional impact, ensure your camera angle includes an external opening.
Inspiration Transfer: The Designer’s Secret Weapon
One of the most powerful features in the KBB Render toolkit is Inspiration Transfer. This is specifically for those early-stage concepts where the client hasn’t committed to a palette yet.
Essentially, you are fusing two different pieces of data:
- The Structure: Your architectural line drawing or a basic 3D export.
- The Soul: A reference image or mood board that has the “vibe” the client wants.
Option A: Line Drawing to Render
We have found that line drawings (clean black and white) actually achieve better results than pre-coloured cartoon renders. When you provide a clean structure, the AI has more “creative room” to apply the materials from your inspiration image accurately.
Option B: Mood Board to Render
If your client is undecided, you can upload a mood board (or take a photo of physical samples via our mobile app). The platform then transforms that collage of textures into a cohesive, realistic interior visual, fusing your existing layout with the new scheme in a single click.
This workflow is ideal for:
- Testing 3-4 style directions in minutes.
- Visualising ideas before you spend hours modeling every single handle and hinge.
- Early concept presentations where “feeling” matters more than “finishes.”
Mastering Precision with Creative Realism vs. Stable Precision
Not every project requires the same level of AI “imagination.” We’ve categorised our engine outputs into two distinct modes to give you total control over the interior design rendering process.
| Feature | Best For… | Key Benefit |
|---|---|---|
| Stable Precision | Final client approvals | Retains exact dimensions and placement. |
| Creative Realism | Concept & Mood-setting | Adds artistic flair and natural “lived-in” details. |
We generally recommend Creative Realism with Daylight for most designers. It provides a high-end look without requiring complex pre-render prompting.
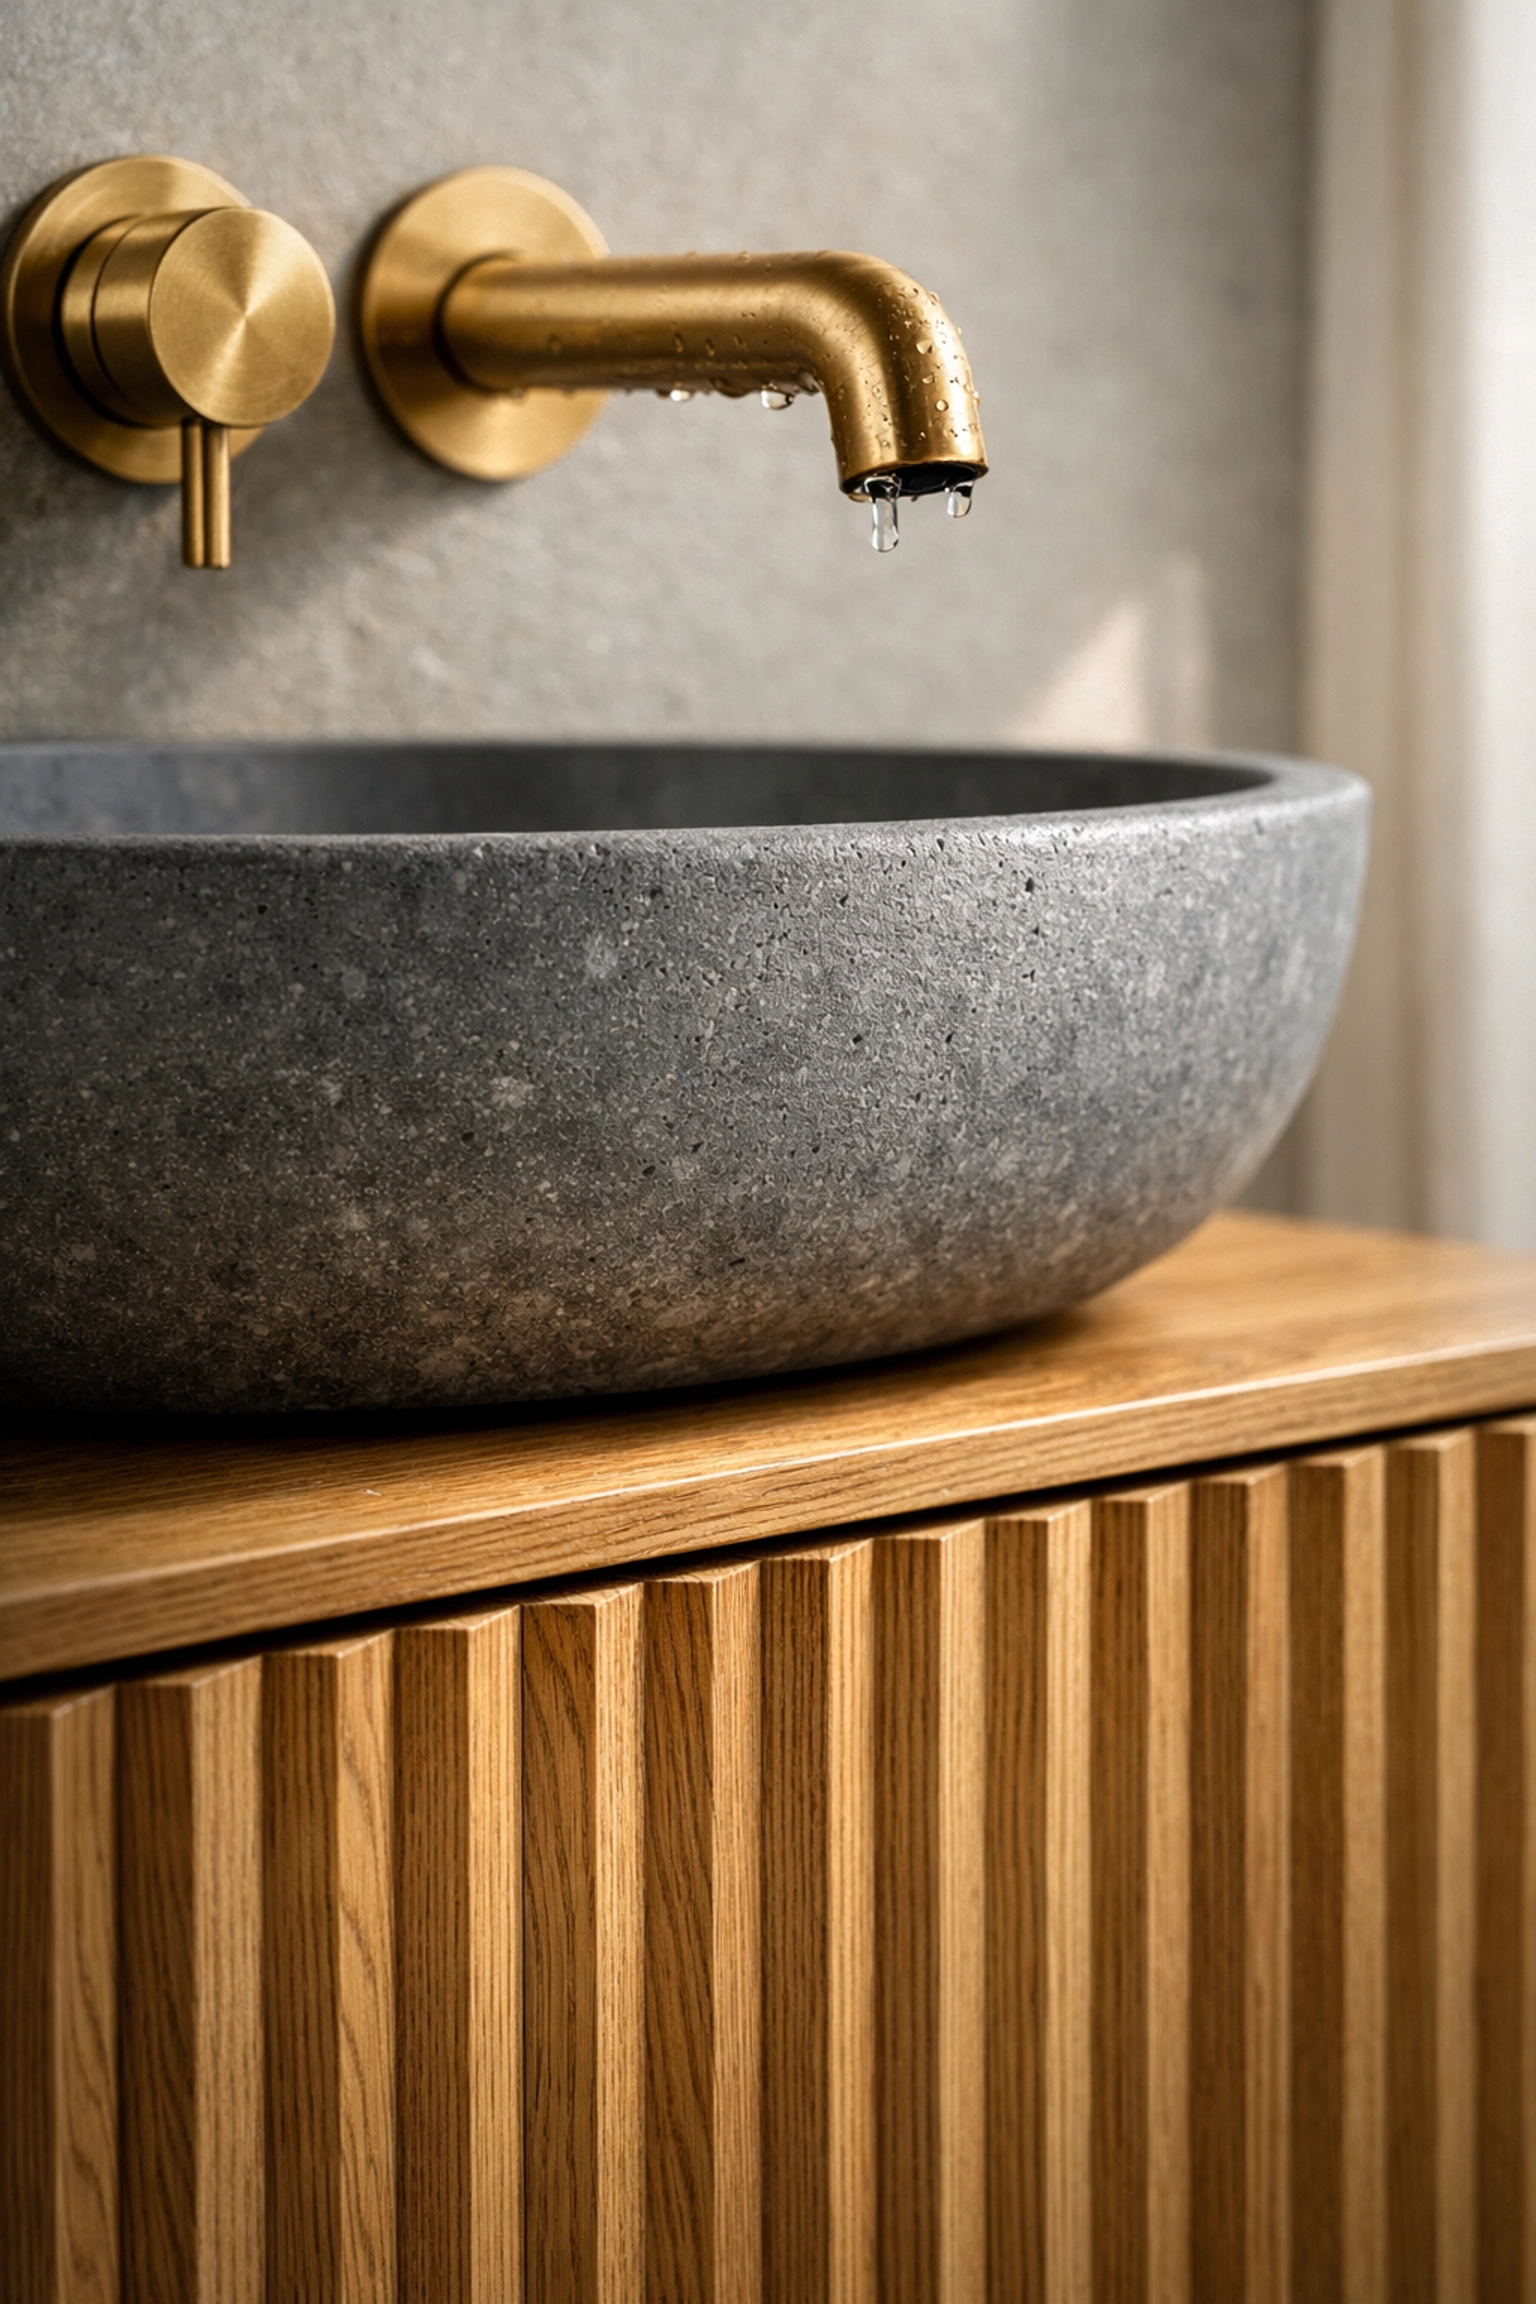
Using Advanced Settings for Surface Finishes
While our AI is highly intelligent, it cannot read your mind regarding specific material properties. If you have a specific finish on a surface, like a grey mirror splashback, glossy worktops, or silk bedding, you must use the Design Description under Advanced Settings.
How to write descriptions for the best results:
- Keep them short and separated by commas.
- Focus on materials only (e.g., “herringbone oak floor, matte black cabinetry, marble island”).
- Do not use this section to request changes or edits. Edits are best handled after the initial render is generated.
Batch Rendering and the 8K Power Move
In high-value projects, visual precision is expected. Clients are looking for reasons to say “no,” and a blurry, low-res render is an easy target.
Batch Rendering (6 Variations in 1 Click)
To save time, we recommend batch rendering similar types of images together. You can upload up to 6 images at once, for example, different angles of the same kitchen, and apply a lighting mode to all of them simultaneously. This ensures visual consistency across your presentation deck.
Native 8K Upscaling
We believe most designers will only ever need 4K for everyday workflow. It’s perfect for client presentations and email. However, if you are preparing:
- Social media content
- Showroom displays
- Large-scale marketing materials
Then Native 8K Upscaling is your best friend. It increases the perceived value of the project immediately.
Bear in mind: 8K takes longer to process. Also, avoid upscaling to 8K if you have already edited the image multiple times, as this can occasionally cause minor distortions in fine details like text or intricate patterns.
Pro Workflow: From Rough Visual to Approved Project
The strongest users of KBB Render don’t just “generate images.” They use the platform strategically to move the project forward.
- Generate 2–3 variations during the actual client meeting. Nothing builds confidence like showing a client their requested change in real-time.
- Use Sunset and Night-time modes for that final “emotional” push. It helps the client imagine themselves in the space after work.
- Refine & Edit via Prompting. Instead of restarting, use the Post-Render Editing tool. Describe changes in a conversational manner: “Change the wood floor to large concrete tiles, add LED strip lights under plinths.”
Basically: One prompt containing all your changes is better than five separate prompts. It preserves the resolution and saves your credits.
What’s Next: The Future of KBB Render
We are constantly updating our engine to meet the demands of the 2026 design landscape. While our current tools focus on high-fidelity stills and Inspiration Transfer, we have several major updates on the horizon:
- Still Render to Animation/Videos: Soon, you’ll be able to transition from daytime to sunset in a cinematic fly-through, or add moving elements like pets and people to your photorealistic scenes.
- Add/Remove Objects: An AI-powered scene cleanup tool to swap out specific furniture or fixtures without re-rendering the whole room.
Summarising the Advanced Path
Closing a high-value project requires more than just a good design; it requires a vision the client can’t say no to. By mastering Inspiration Transfer, understanding the logic of Lighting Modes, and utilizing 8K Upscaling, you position yourself as a tech-forward leader in the industry.
The faster you present clarity, the less time clients spend comparing competitors.
Ready to transform your next project? Book a KBB Render demo or start your first render today.
Final Takeaway: Run one real project through the engine this week. Test the Sunset mode. Use the Inspiration Transfer tool. You’ll immediately see the difference between showing an idea and selling it.