
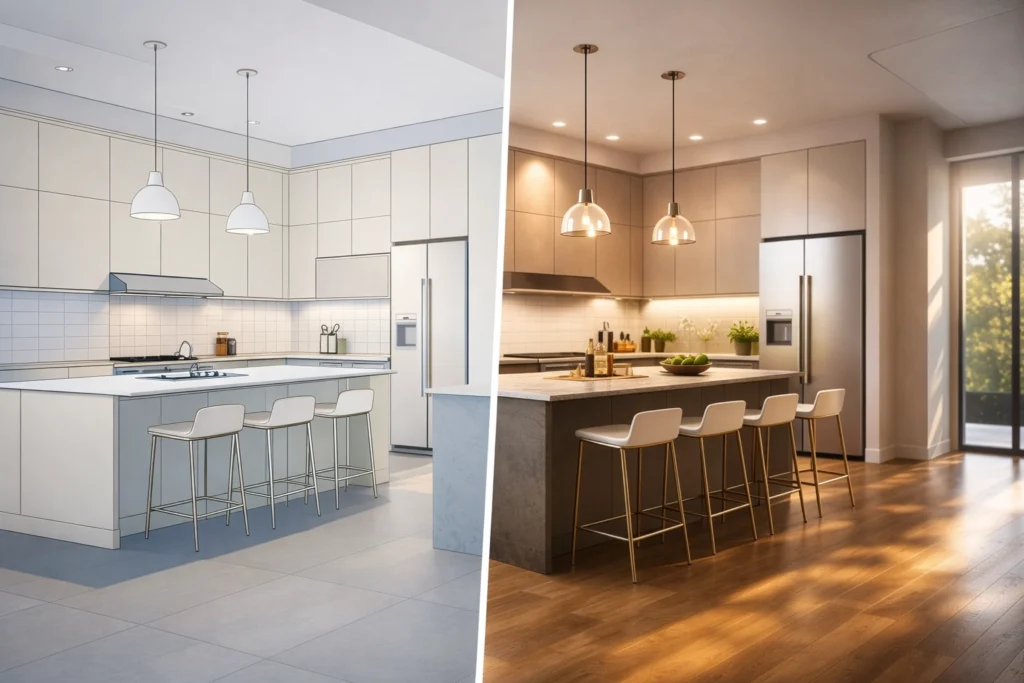
Are you still spending hours: or even days: fiddling with texture maps, lighting nodes, and proxy objects in your CAD software (SketchUp, Archicad, Winner, Virtual Worlds) just to get a decent kitchen visualisation?
Is the traditional rendering pipeline actually preventing you from winning more clients?
The short answer is: yes. While SketchUp, Archicad, Winner, and Virtual Worlds are industry standards for layout and modelling, their native rendering capabilities (and even many high-end plugins) often require a level of technical expertise and time commitment that most busy designers simply don’t have. The longer (and more useful) answer is that the workflow has changed for the better.
In 2026, the gap between a basic “clay” model and a high-end, 8K photorealistic render has vanished. We understand that you want to focus on design, not technical troubleshooting. This guide will show you exactly how to bridge that gap using the latest AI interior rendering technology.
Want to see it on your own project? Start a 7 day free trial here
Why Traditional Rendering Is Slowing You Down
Before we dive into the steps, let’s be honest about the old way of doing things. Traditionally, if you wanted a photorealistic result from a SketchUp model, you had to:
- Spend hours applying high-resolution PBR textures to every single surface.
- Set up complex lighting rigs (IES lights, rectangular lights, etc.) that often result in “light leaks” or weird artifacts.
- Wait for your computer to turn into a space heater while it renders a single frame for 45 minutes.
- Realize the client wants a different cabinet color and start the whole process over.
Basically, the old workflow is linear and rigid. Modern kitchen visualisation needs to be fluid and fast. That is where KBB Render comes in.
The Step-by-Step Workflow: CAD to KBB Render (SketchUp, Archicad, Winner, Virtual Worlds)
Following the process below will take you from a basic line drawing to a portfolio-ready image in minutes, not hours.
Step 1: Preparing Your CAD Model (SketchUp, Archicad, Winner, Virtual Worlds)
You don’t need to be a CAD virtuoso to get great results. In fact, AI rendering tools are incredibly forgiving. However, for the best results, you should ensure your geometry is clean.
- Focus on Volume: Ensure your cabinetry, worktops, and walls are correctly scaled.
- Set the View: Lock in your camera angle using your software’s saved views/scenes (SketchUp Scenes, Archicad Views, Winner viewpoints, Virtual Worlds camera views). A Field of View (FOV) between 45 and 60 degrees is usually best for interior spaces to avoid “fisheye” distortion.
- Keep it Simple: You don’t need to spend hours finding the perfect 3D model of a toaster or a vase. The AI can handle the “styling” later.
Step 2: Exporting Your “Base” Image
Once your layout is ready, you need to get it out of your CAD tool (SketchUp, Archicad, Winner, Virtual Worlds). You have two main options here:
- The Clean Line Export: Export a 2D Graphic (PNG or JPG) using a simple “Hidden Line” or “Shaded with Textures” style.
- The Basic Render: If you already use a basic renderer (or your CAD tool’s quick visual output), export a low-quality, fast render to use as your base.
Pro Tip: High resolution matters. Export your view at at least 3000px wide to give the AI enough “data” to work with.
Step 3: Uploading and Selecting Your Engine
Now, head over to kbbrender.com and upload your image. This is where the magic happens. You’ll be presented with two primary modes of operation:
- Stable Precision: This is the “Designer’s Choice.” It respects your CAD geometry with surgical accuracy – whether it started in SketchUp, Archicad, Winner, or Virtual Worlds. If you’ve drawn a specific 600mm cabinet, it stays a 600mm cabinet. It’s perfect for technical bathroom renders where every tile alignment counts.
- Creative Realism: Best for early-stage concept meetings. This mode takes your layout and adds an artistic flair, suggesting materials and decorative elements you might not have even thought of yet.
Step 4: Mastering Light with Batch Rendering
Lighting is usually the hardest part of 3D design. In KBB Render, you simply select your desired mood.
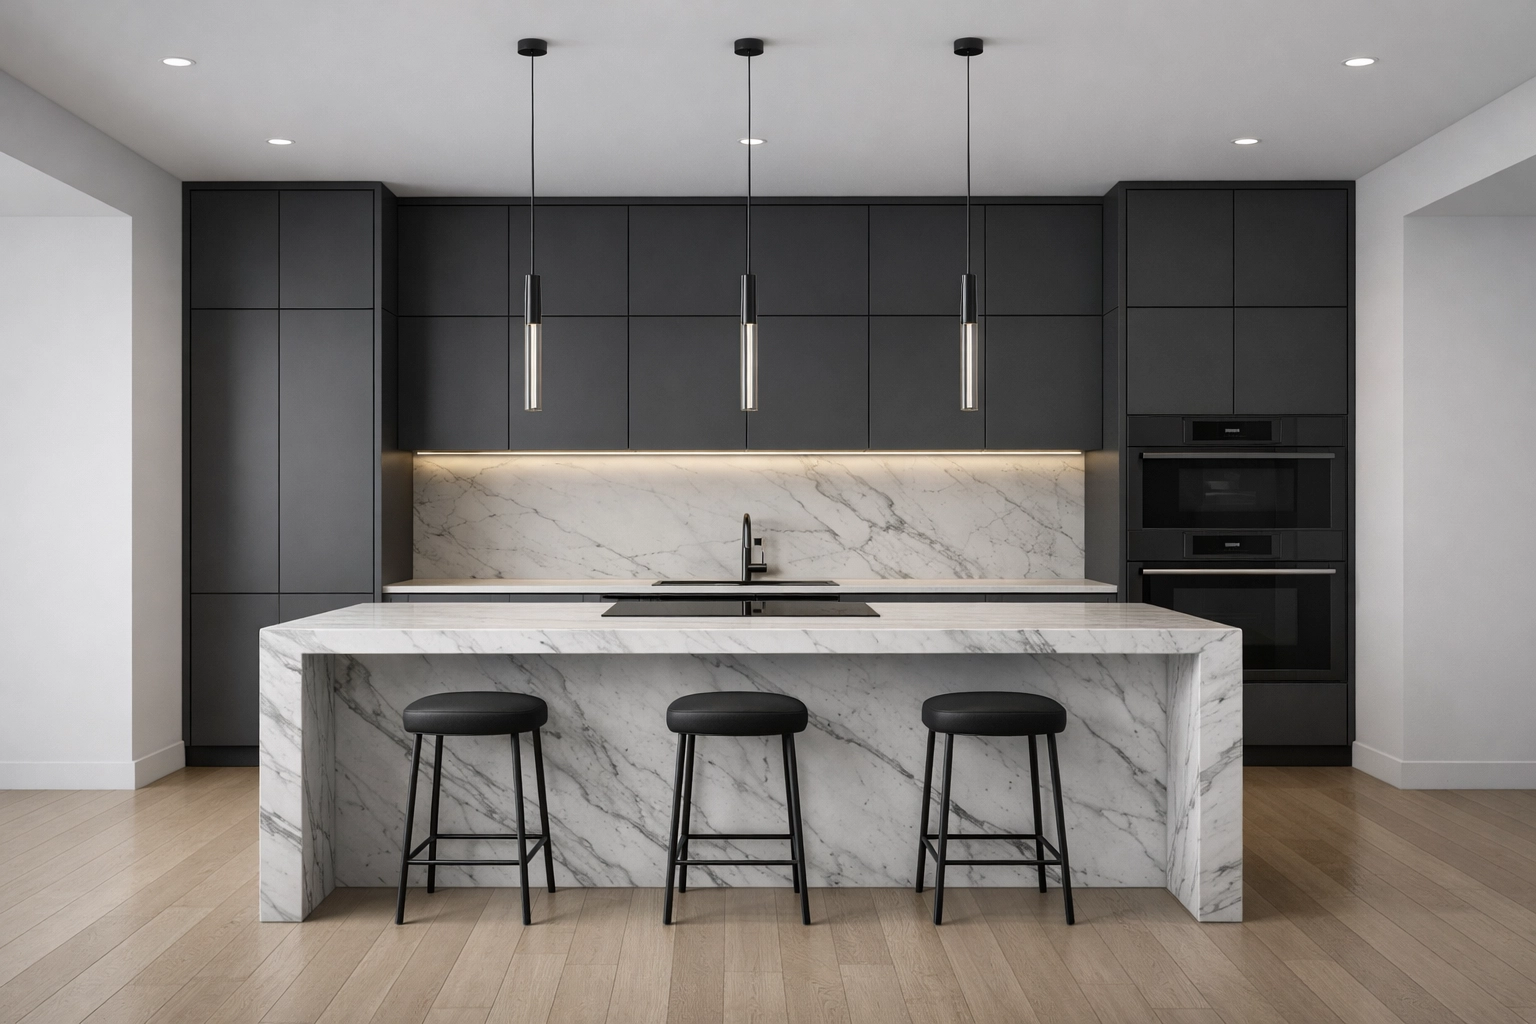
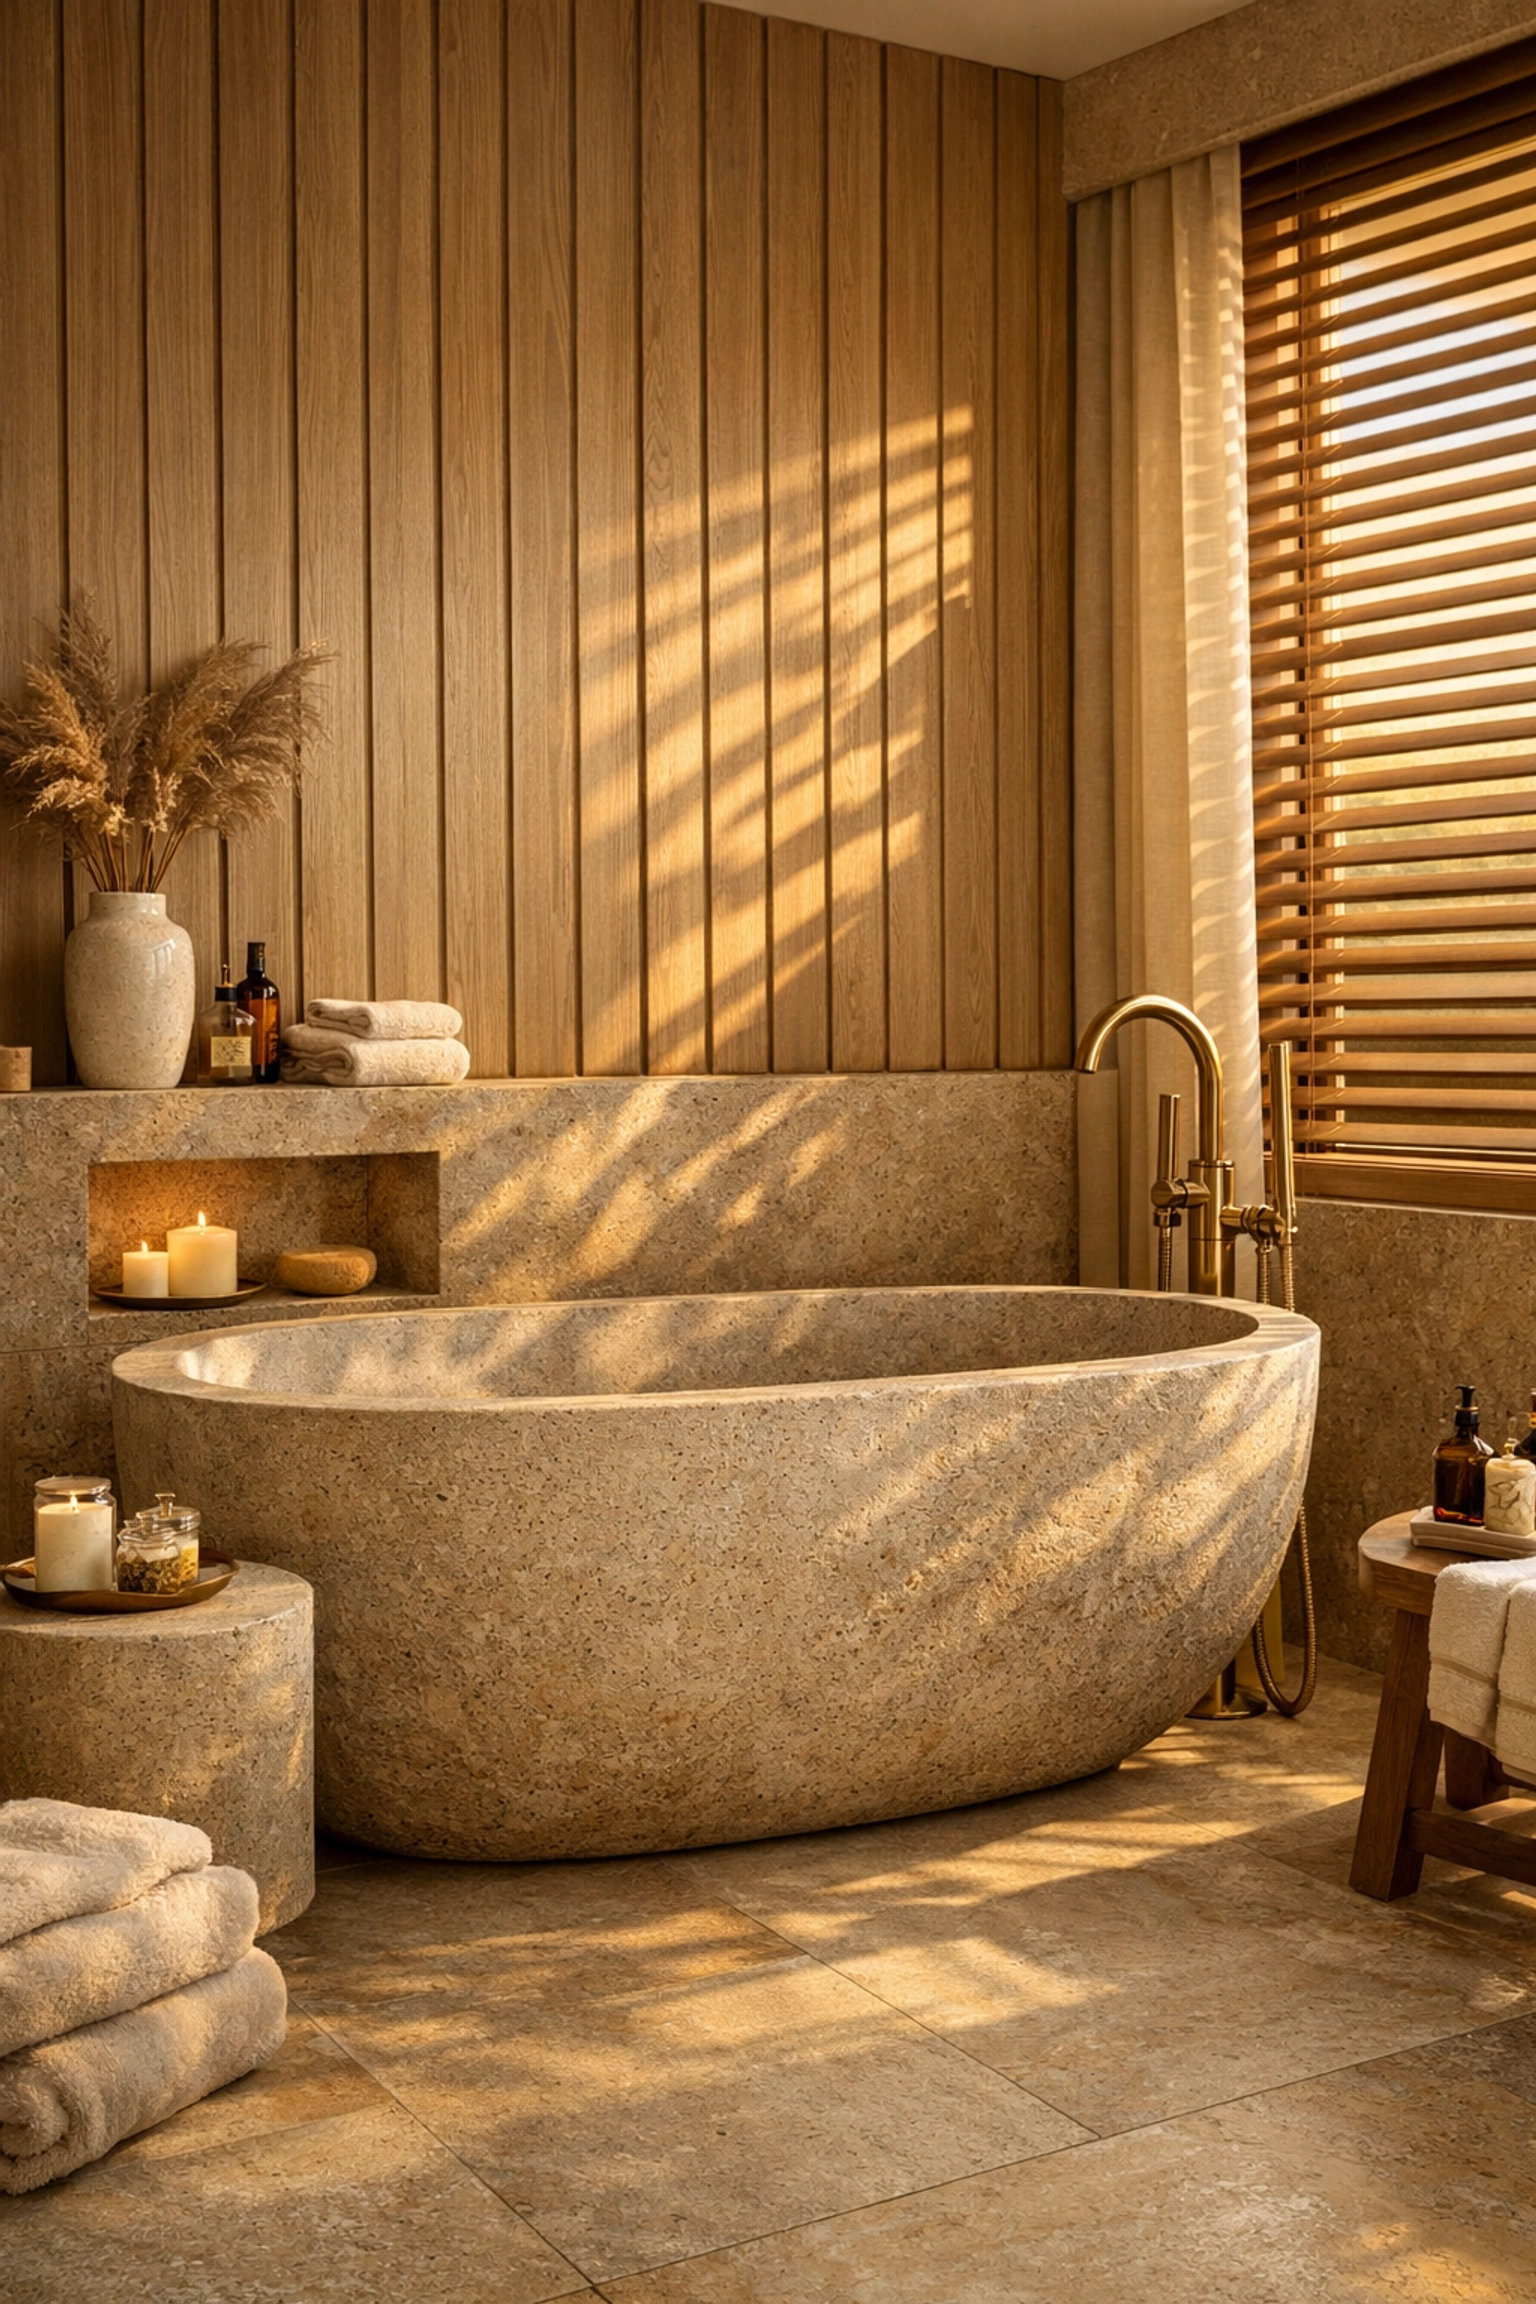
- Daylight: Crisp, natural light that makes spaces feel airy.
- Night: Focuses on artificial light sources, perfect for showing off under-cabinet LEDs or pendant lights.
- Sunset: Adds a warm, golden-hour glow that creates an emotional connection with the client.
Instead of trying one at a time, use our Batch Rendering feature. With one click, you can generate 6 variations of the same scene with different lighting setups. This allows you to show your client how their new kitchen looks at breakfast and during a dinner party.

Step 5: Applying Style with Inspiration Transfer
One of the most powerful tools in your new arsenal is Inspiration Transfer.
Let’s say you have a CAD layout from SketchUp, Archicad, Winner, or Virtual Worlds, but you want it to look like a specific “Scandi-minimalist” kitchen you saw on Pinterest. You can upload that reference image, and KBB Render will apply that specific color palette, material texture, and “vibe” to your geometry.
This means you no longer have to manually search for “Light Oak” textures; the AI interprets the inspiration and applies it for you.
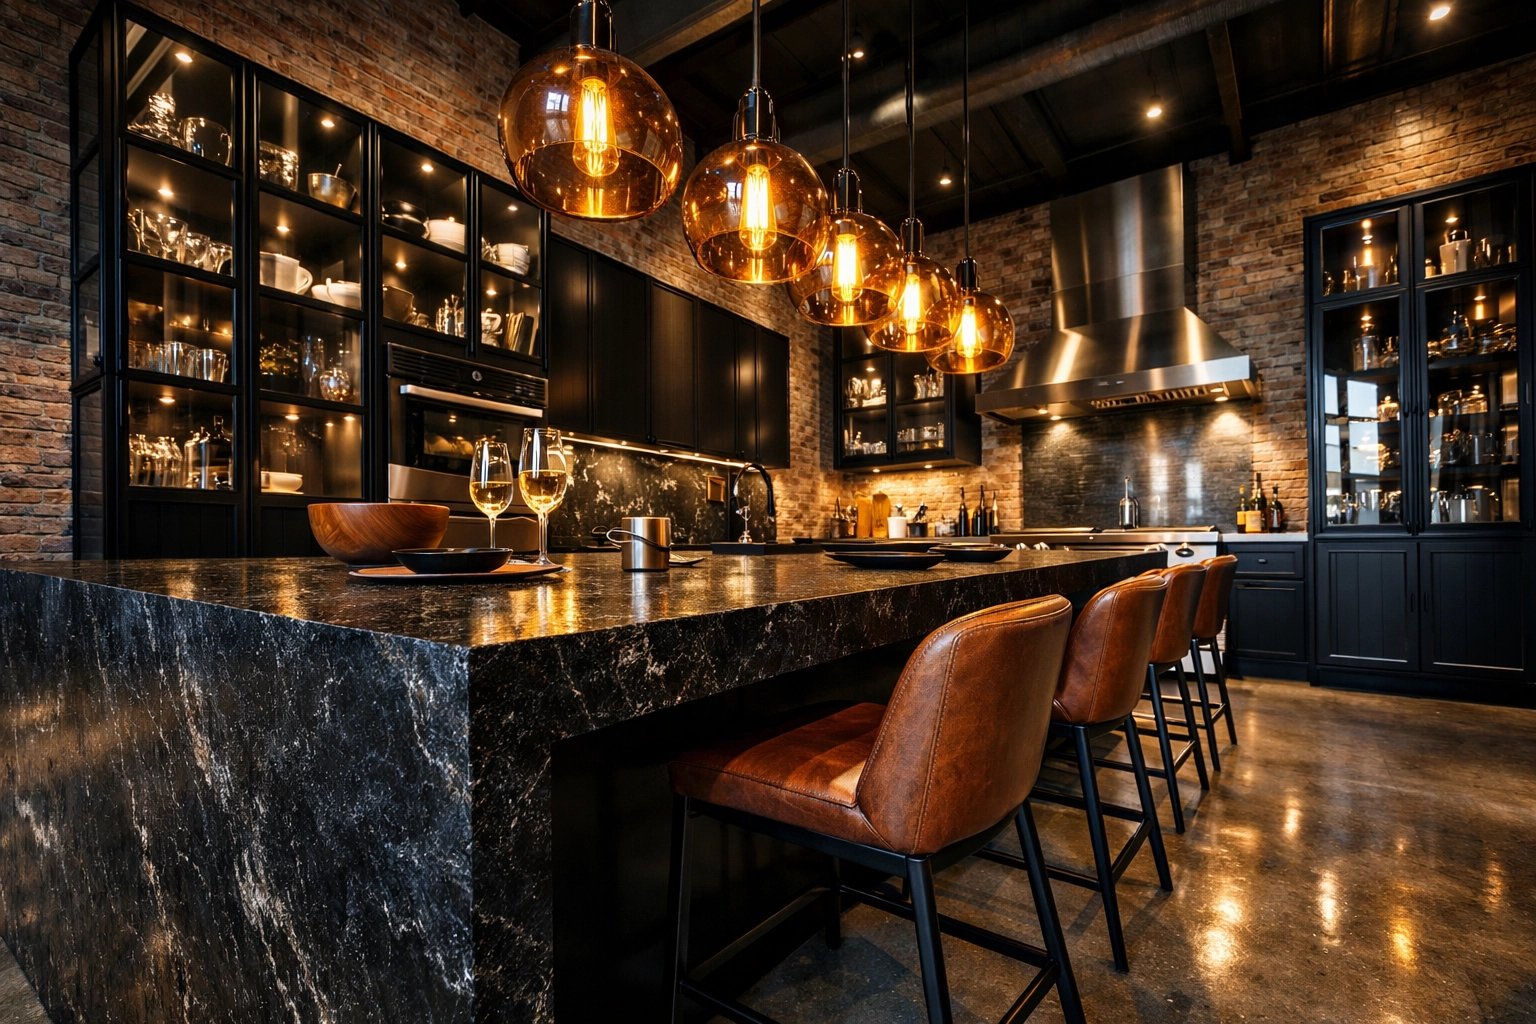
Step 6: Native 8K Upscaling for the Win
A render that looks good on a smartphone might look grainy on a 4K showroom screen or in a printed brochure. This is where many AI tools fail: they produce low-resolution images that look “mushy.”
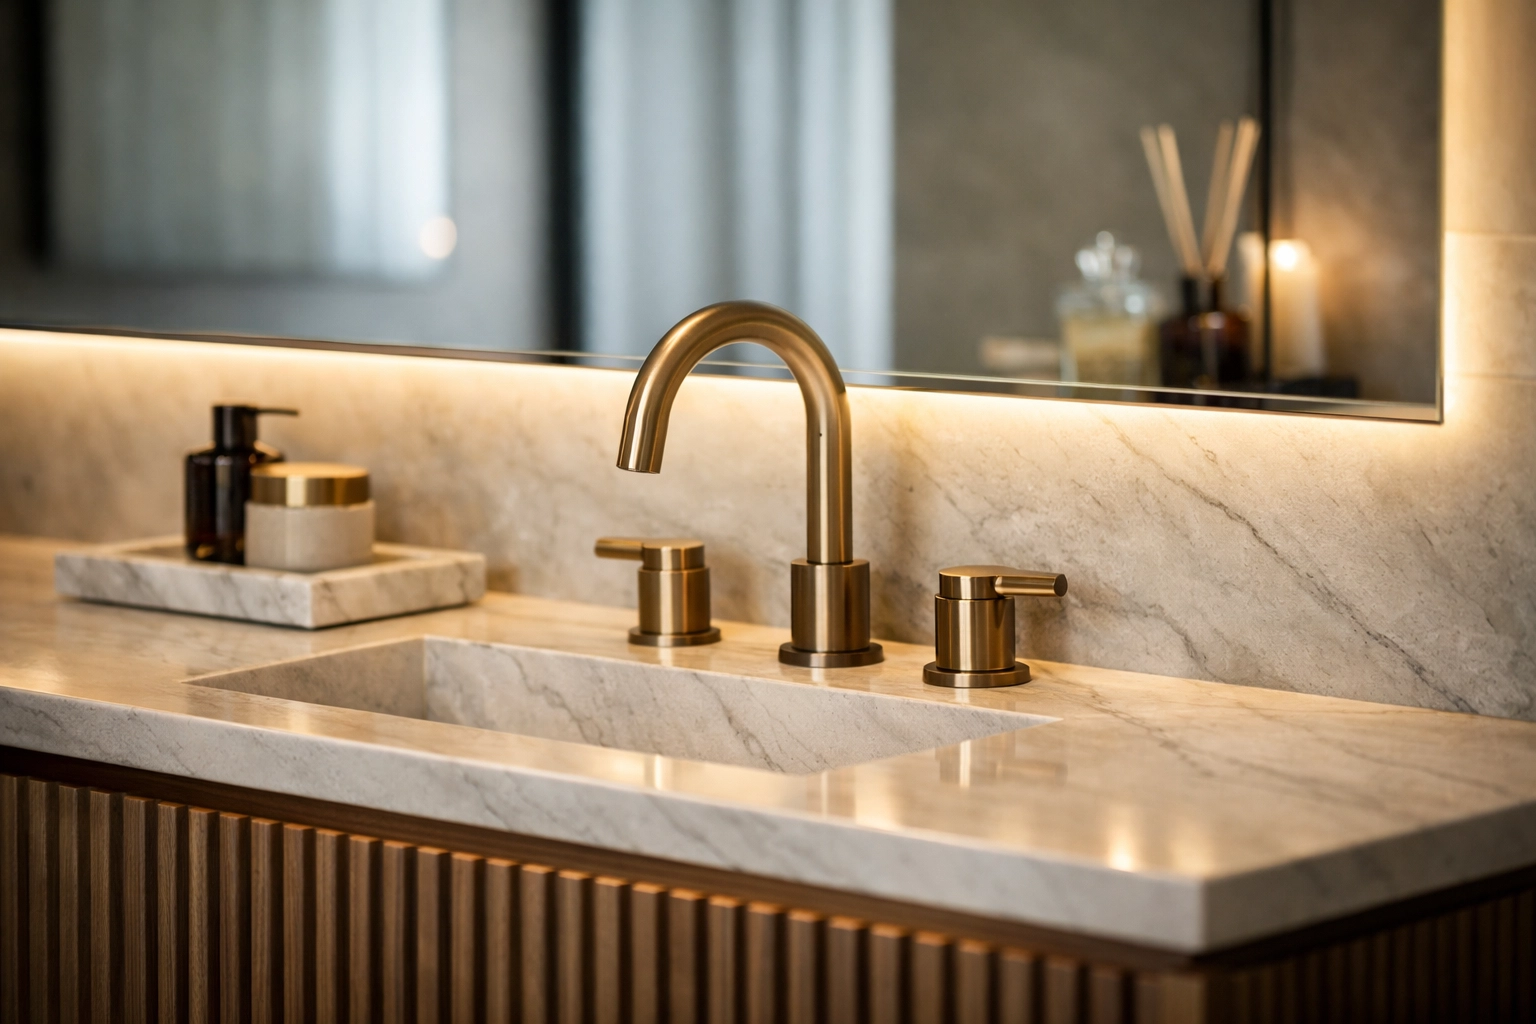
KBB Render features Native 8K Upscaling. Once you are happy with your design, you can upscale the image to 8K resolution. This preserves the sharpness of the wood grain, the reflection in the marble, and the crisp edges of the hardware, making it suitable for high-end print and large-scale displays.
Ready to get client-ready visuals today? Start a 7 day free trial here.
Traditional V-Ray vs. KBB Render Workflow
| Feature | Traditional Rendering (V-Ray/Lumion) | KBB Render AI Workflow |
|---|---|---|
| Setup Time | 2 – 5 Hours | 3 -7 Minutes |
| Technical Skill | High (Requires Training) | Low (Intuitive) |
| Hardware Needs | Expensive GPU/RAM | Any Web Browser |
| Revisions | Slow (Manual Changes) | Instant (Re-render in seconds) |
| Output Quality | Photorealistic (if expert) | 8K Photorealistic (Guaranteed) |
What’s Coming Next for Your Workflow?
The world of AI interior rendering is moving fast. While the current workflow is already saving designers hours of work, we are constantly adding new features to our knowledge hub.
Coming Soon to KBB Render:
- Still Render to Animation/Videos: Soon, you’ll be able to turn your static CAD-based renders (SketchUp, Archicad, Winner, Virtual Worlds and more) into cinematic fly-throughs. Imagine sending a 10-second high-def video to a client’s WhatsApp just minutes after your meeting.
- Add/Remove Objects: Don’t like that fruit bowl? Want to add a different set of bar stools? You’ll be able to use AI-powered scene cleanup to modify objects without going back into your CAD software.
Summarising…
Is the SketchUp-to-photorealism workflow still a headache for you? It doesn’t have to be. By moving away from heavy, localized rendering engines and embracing a cloud-based AI workflow, you can reclaim your time and focus on what you do best: designing beautiful spaces.
Key Takeaways:
- Keep SketchUp for what it’s good at: layouts, volumes, and spatial planning.
- Use Stable Precision to ensure your technical drawings remain accurate.
- Leverage Batch Rendering to provide clients with multiple lighting options instantly.
- Upscale to 8K for that professional, high-end finish.
The “no prompts needed” revolution is here. You don’t need to be a prompt engineer; you just need to be a designer. Ready to transform your workflow? Start your 7 day free trial here: https://app.kbbrender.com/signin – or check out our pricing or book a demo today to see it in action.
Basically, your SketchUp models are about to look better than they ever have( in a fraction of the time.)