
Does the final 5% of a design project always seem to take 50% of the time?
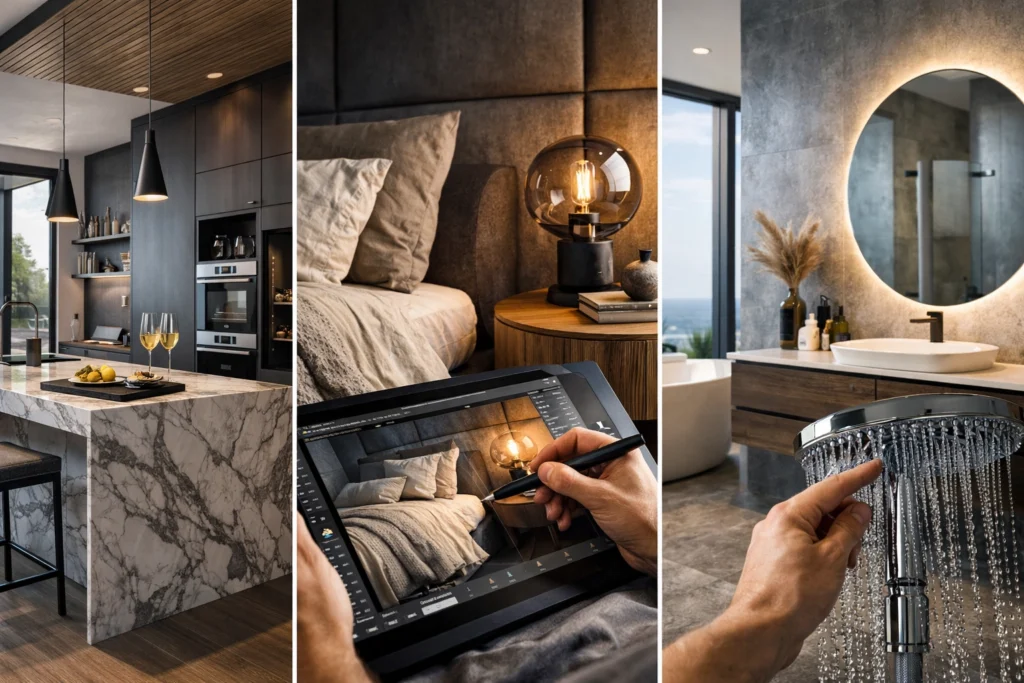
We have all been there. You have a beautiful base kitchen visualisation, but the client suddenly wants to see a different floor tile, or perhaps they wonder how the space would look under warm evening "sunset" lighting rather than crisp morning "daytime" lighting. In traditional software, this often means going back to the CAD model, swapping assets, and waiting hours for a fresh render.
Is there a faster way to reach that "perfect finish" without losing your afternoon?
It depends on how you use your tools.
The longer (and much more useful) answer is that the most successful designers using KBB Render don't aim for perfection on the first click. They use our AI engine to generate a high-quality base and then use Post-Render Editing to refine the details.
This guide explains how to master that workflow, save your credits, and get a glimpse into the upcoming tools that will define architectural visualization in 2026.
Why Should You Edit After the Render?
The most common mistake new users make is trying to describe every single detail in the initial prompt box. While our Stable Precision and Creative Realism modes are incredibly powerful, overloading the engine before it has established the basic geometry of your room can lead to cluttered results.
Basically, editing after the render is more efficient because:
- It preserves geometry: By generating the base layout first, you ensure the walls, cabinets, and windows are exactly where they need to be.
- It saves credits: Refining an existing image counts as 1 credit. Restarting the whole process because you forgot a rug costs much more in the long run.
- It offers granular control: You can see the light hitting the surface first, then decide if that surface should be marble, quartz, or timber.
We recommend completing all your edits in one single prompt box whenever possible. Every time you edit an image, the resolution can shift slightly; combining your requests into one conversational instruction maintains the highest possible output quality.
Mastering the Post-Render Toolkit
Once your base render is generated, you enter the "Refine" stage. This is where your kitchen visualisation becomes a persuasive sales tool rather than just a technical drawing. Our platform allows you to use conversational prompts to manipulate the scene.
Lighting and Atmosphere
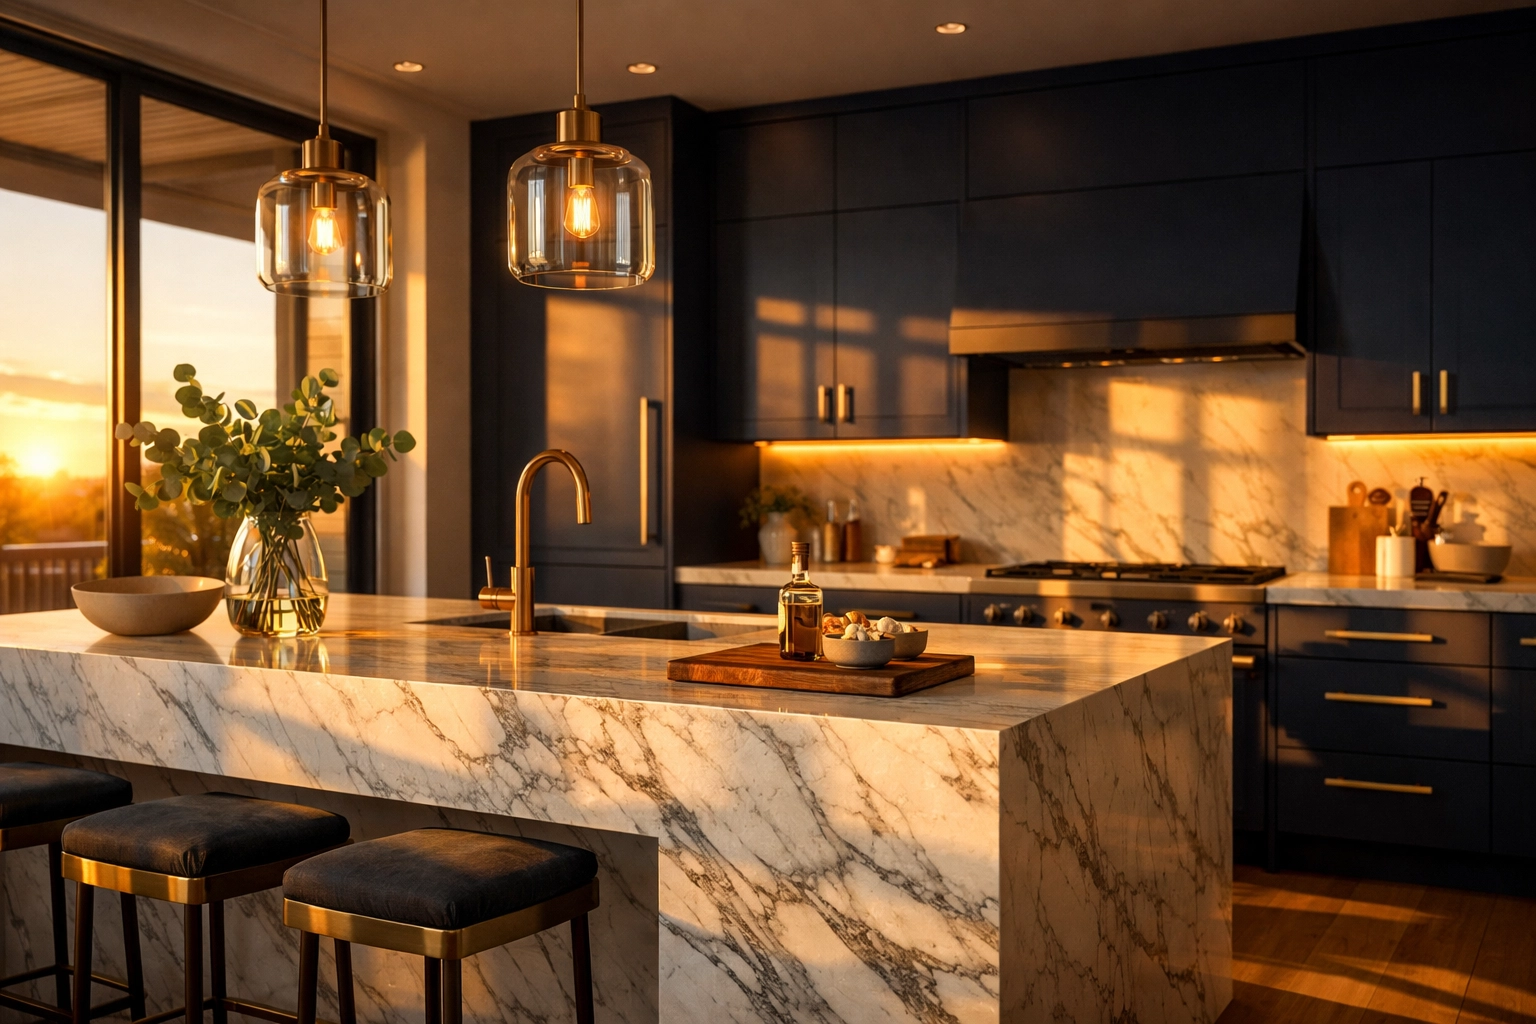
Lighting changes perception dramatically. If your initial render feels a bit "flat," you don't need to start over. You can simply prompt the engine to "turn on pendant lights" or "allow natural sunlight to enter from the left."
- Night-time and Sunset Modes: These work best when windows are clearly visible in the original image.
- Warm vs. Cold Lighting: Use warm lighting for a "cosy home" feel and cold ambient lighting for a modern, clinical, or high-end showroom aesthetic.
- Tip: If you have multiple angles of the same room, use our Batch Rendering (6 variations) feature to apply the same lighting mode across all of them in one click.
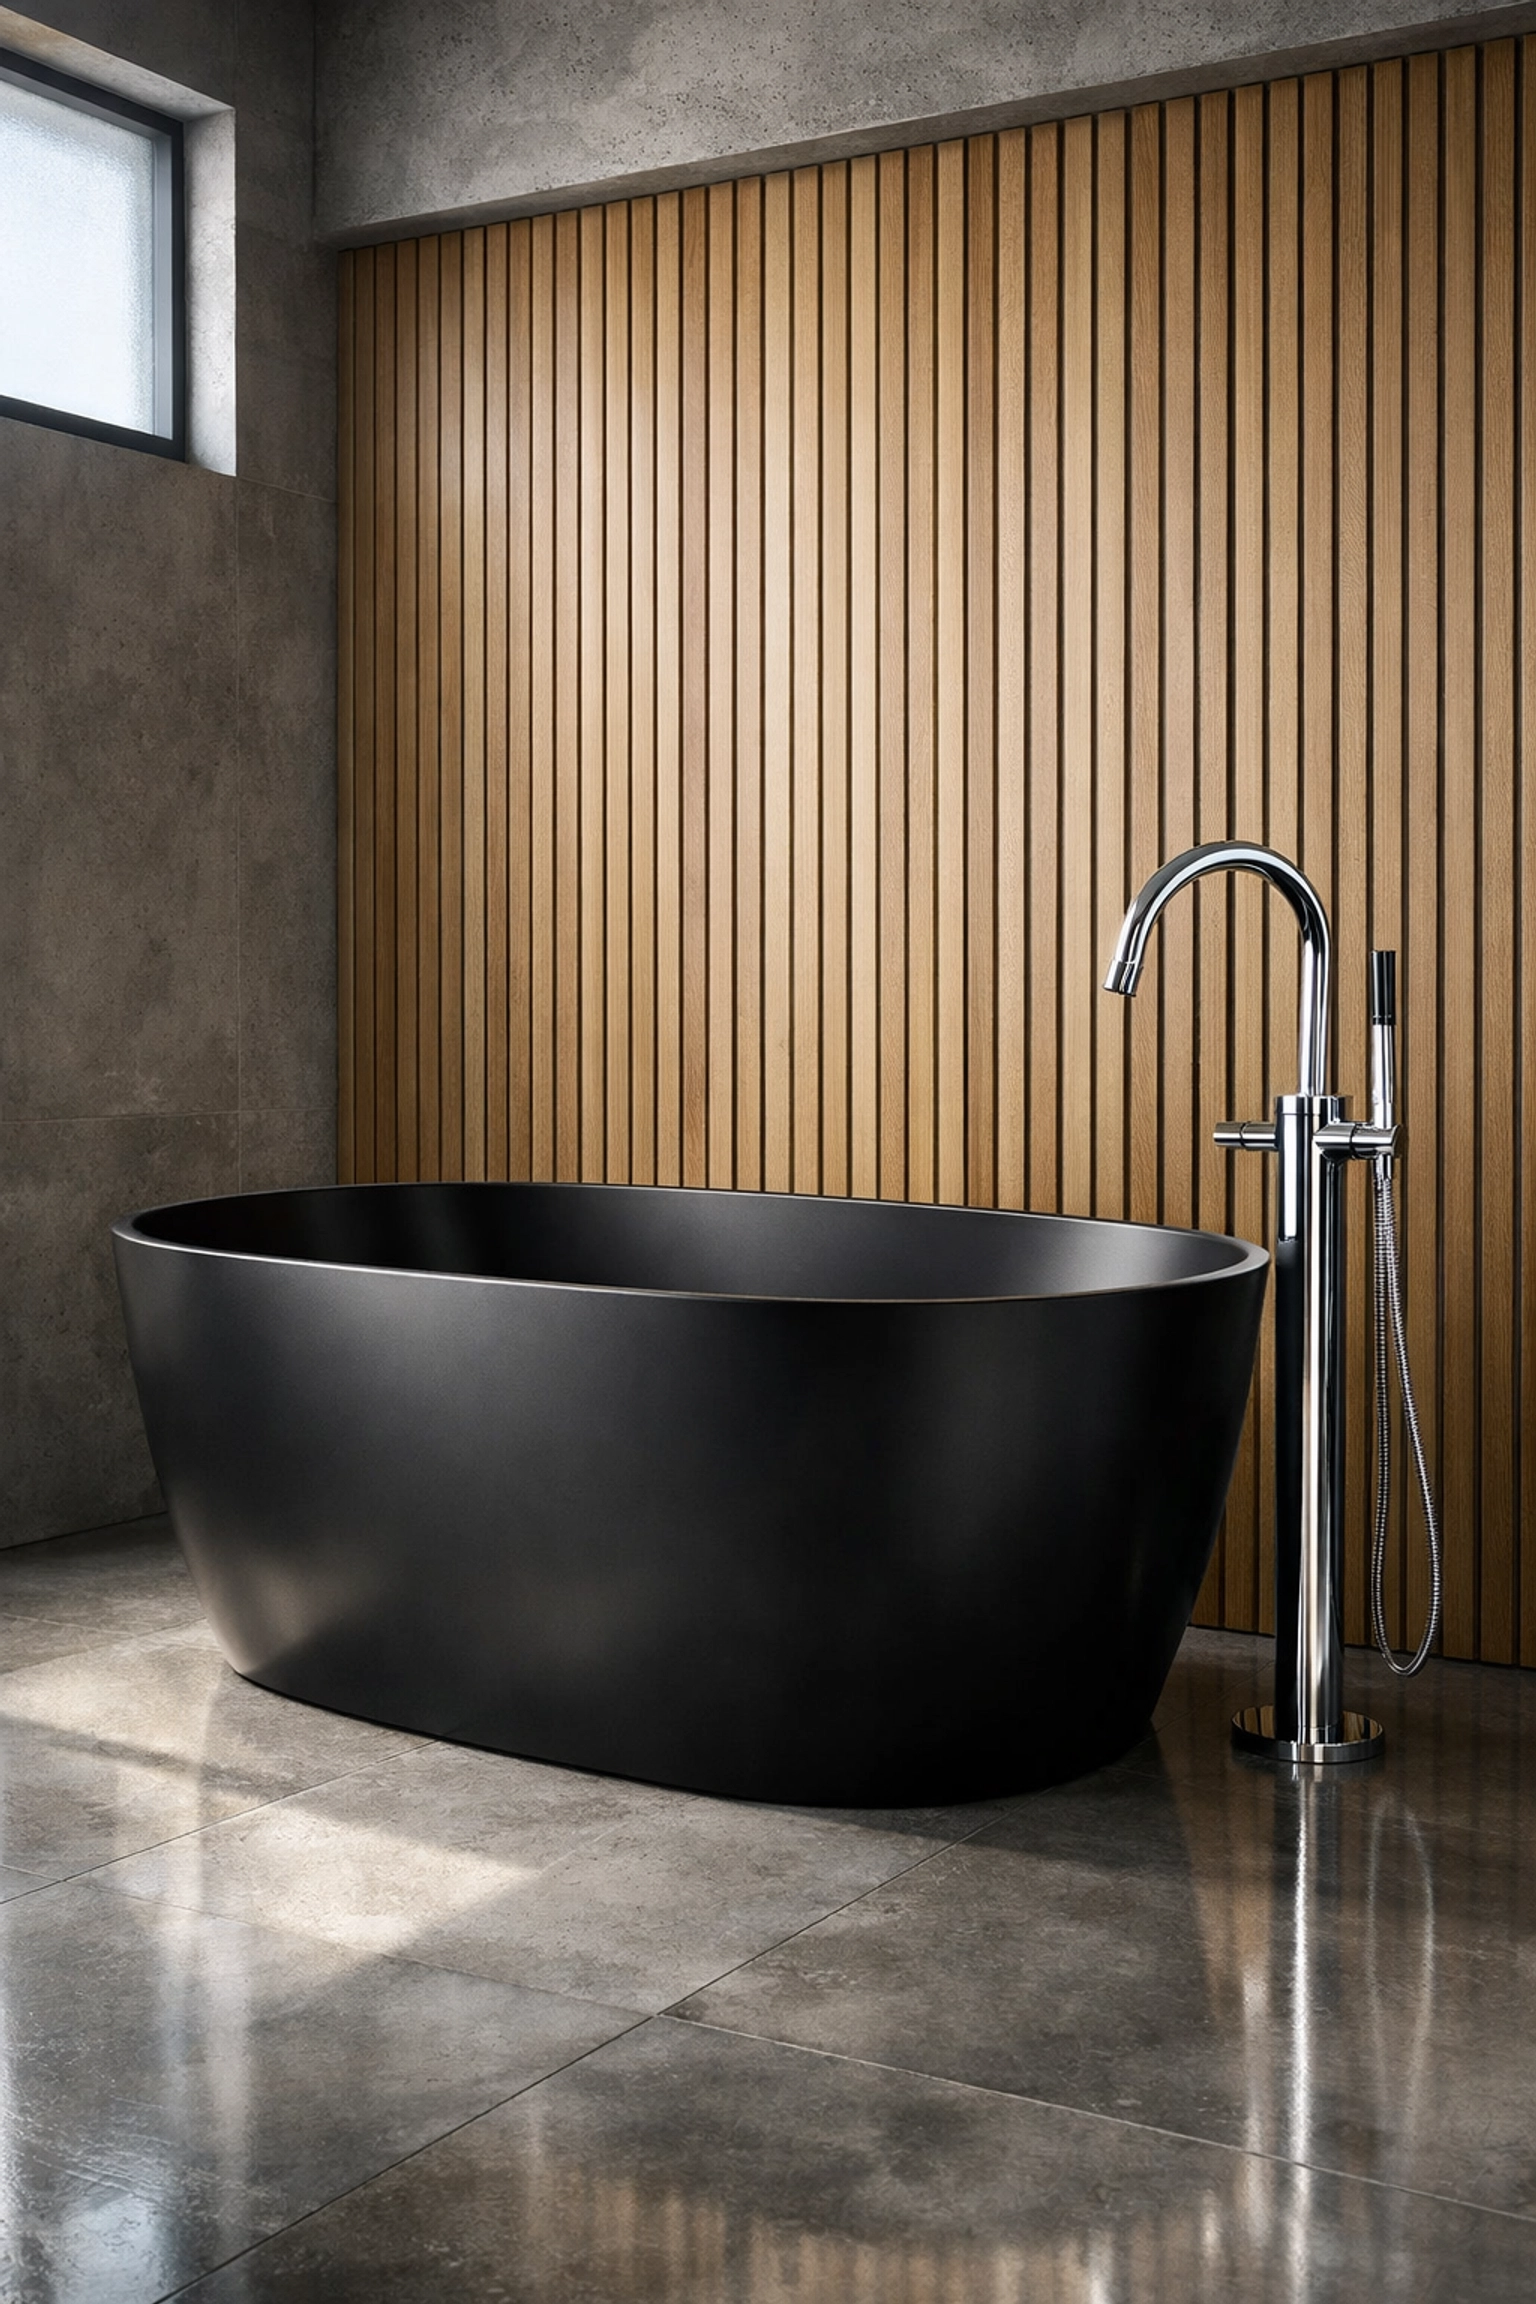
Textures and Materials
Changing a finish is the most frequent request from clients. Instead of re-modelling, use the post-render tool to:
- Change existing wood flooring to large concrete tiles.
- Modify cabinetry colours (e.g., "change island units to navy blue").
- Swap worktop materials from gloss to matte.
Adding the "Lived-In" Feel
A photorealistic AI render needs soul. Empty rooms feel cold. You can use post-render prompts to add "lifestyle" elements that help a client project themselves into the space.
- Furniture & Fixtures: Add a modern round rug, velvet sofas, or designer bar stools.
- Decorations: Add wall art, indoor plants, or even "people and pets" to give the space scale and warmth.
Workflow Strategy: Maximising Credits and Speed
Managing your workflow effectively means understanding how our credit system works. At KBB Render, 1 Render = 1 Credit and 1 Edit = 1 Credit. Please note that credits do not roll over to the following month, so it is in your best interest to use your full allocation.
If you run out, you can add 10 extra credits for just £1 in the top-up section.
To get the most out of every credit, we suggest using Inspiration Transfer. This is one of our most advanced features. You can upload a clean architectural line drawing to retain your layout and then upload an "Inspiration Image" from our library or Pinterest. The AI will fuse the two: applying the style and material direction of the inspiration to your specific floor plan.
4K vs. 8K: Which Output Do You Need?
Choosing the right resolution is a balance between speed and the intended use of the visual.
| Feature | 4K Resolution | 8K Native Upscaling |
|---|---|---|
| Best For | Everyday Client Meetings | Social Media & Print |
| Speed | Fast Generation | Slower (Stay on page) |
| Detail | Professional & Clear | Ultra-Sharp |
| Risk | Low | Potential minor distortion |
Native 8K Upscaling is incredible for showroom displays or marketing materials, but a word of caution: 8K can sometimes sharpen an image so much that it loses the "natural imperfections" that make a render look realistic. For most interior design rendering needs, 4K is the gold standard for perceived value.
AI Accuracy: A Visual Tool, Not a Technical Blueprint
It is vital to remember that KBB Render is powered by advanced AI technology. It is a visualisation and sales tool, not a technical CAD or construction software.
This means:
- Minor details may vary between renders.
- Dimensions are visually interpreted, not technically measured.
- The engine cannot "see" hidden settings in your original software; it only sees what is in the uploaded image.
Always review visuals before using them for manufacturing. The goal of an architectural visualization in the early stages is to build confidence and close deals by showing clarity of vision. Speed builds confidence, and confidence closes projects.
The Future: From Stills to Cinematic Motion
We are constantly evolving. While our current focus is on providing the world's fastest and most realistic still renders, our roadmap for 2026 includes tools that will change how you present to clients.
Coming Soon:
- Still Render to Animation/Video: Soon, you will be able to upload photorealistic renders from different angles and select a video style to generate an animated output. This will allow for cinematic fly-throughs and transitions between day and night lighting scenes.
- Add/Remove Objects: An AI-powered scene cleanup tool that will allow you to remove unwanted clutter from a base photo or add specific items with even greater precision.
By mastering the current post-render editing tools now, you are preparing your workflow for the next generation of design technology.
Summarising the Perfect Workflow
To achieve the perfect finish, you should move from general concepts to specific details. Start with a clean base image: ideally a cartoon-style render or a clean line drawing: and use Stable Precision to set the layout.
Once you have your base, use the post-render prompt box to refine textures, lighting, and decor. Remember to combine as many edits as possible into one prompt to save credits and maintain resolution.
By using KBB Render strategically, you aren't just generating images; you are creating an emotional connection between the client and their future home.
Ready to transform your next project? Book a KBB Render Demo or explore our Pricing to start your revolution in rendering today.
The faster you present clarity, the less time clients spend comparing competitors.